
Wednesday, September 19, 2012
Hi everyone, it's been two years since I started writing this, I really should finish it sometime! I've looked through the traffic stats and there's been 1162 visits, thats more than I expected. I don't know how long the plan files have been down but if you need them send me an email and I'll send them out to you. In the meantime here's a link to the build thread on Hyperspin_FE Forums so you can see more progress pictures for reference assuming you didn't arrive here from there.
Thursday, July 1, 2010
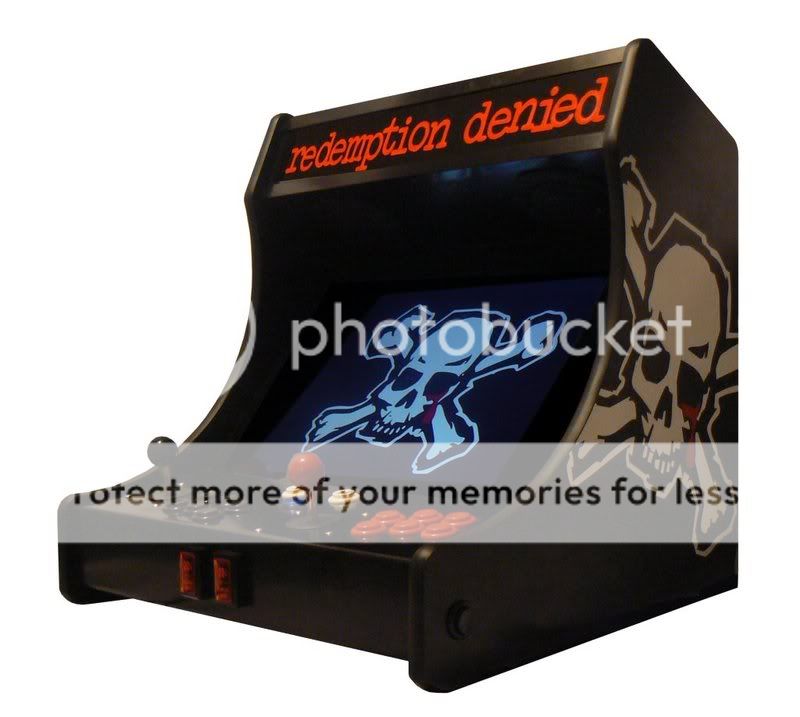
All Finished
I'm gonna start at the end here, then do a build up story.

Specs:
2.7 Ghz Intel Core2 Duo
NVidia GT220 1gb
2gb system memory
500gb SATA Hard drive
19" Dell Lcd monitor running 1280X1024 resolution @75hz
500w PSU
2X Ultimarc Ultrastick 360 analogue joysticks
Ultimarc Ipac 2 keyboard encoder
2X Sony Xplod 4" Speakers powered a 20w X2 motorcycle amplifier
2X cold cathode case light kits
Various illuminated and standard arcade buttons.
Software:
Windows XP
Hyperspin Frontend
Mame 0.137
Mess
Kega Fusion
Nestopia
Zsnes
Project 64
Virtual Pinball
Future Pinball
Wednesday, June 2, 2010
Starting Out

I bought a 19" LCD monitor to use with my PS3, I made sure I got one with DVI so I could use a DVI-HDMI cable. I didn't know that there was an analogue DVI as well, I just thought DVI stood for Digital Video Interface, lesson learned. It sat around for about 3 months collecting dust. Having already Mame'd an old arcade cabinet a few years ago I decided to have a go at making a bartop.
I began researching and came across Weecade, there were plans on the site which I modified to fit a 19" monitor and 2X6 button controls, so my cabinet ended up a little taller, wider and deeper. I bought a 3.2ghz P4 and motherboard to suit, 2gb ram, I already had a 170gb and 200gb SATA hard drives, I found an old CoolerMaster gaming tower in a hard rubbish collection which I ganked the fans and video card out of.
I then ordered 2x Sanwa joysticks, a heap of pushbuttons/microswitches and an Ultimarc Ipac2 keyboard encoder from Ozstick. The fun had begun.
Saturday, May 29, 2010
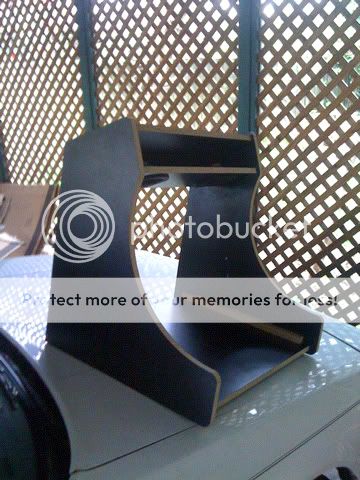
Getting the Panels Cut.

I had a plan drawn on a piece of MDF, getting someone to cut the pieces out for me was the hard part. After two cabinet makers expressing their extreme disinterest in my project I found a third that seemed would get the job done, I left my plan there for a month having checked in fornightly I decided to try somewhere else, I found an awesome cabinetmaker who programmed my plan into his CNC router, it wasn't a new one that you could just import a cad file into but still did an equally awesome job.
He charged me $90 to redraw my plans into his machine and $50 for materials, he also cut two extra side panels so I could practice cutting t-moulding channels. Just to the side of the photo you can see the floor, back, roof and speaker panels which the cabinet maker cut for me on the spot, all panels were cut from 18mm black Melamine because I wasn't keen on painting MDF. All the cutting out was done within a week of me first visiting him, top service.
My goal was to make a clean looking bartop cabinet with everything a basic full sized cabinet has, no visible screws and one external power lead with every device inside turning on and off with the PC.
Friday, May 28, 2010


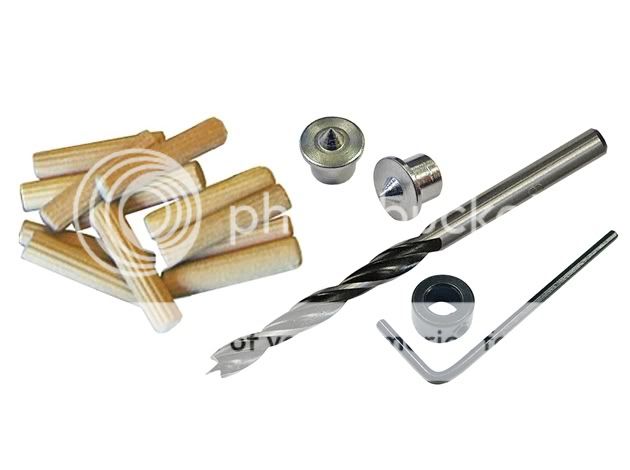
Speaker shelf, top panel and bottom panel installed. Top panel and speaker shelf are secured with dowels, if I made another one I would dowel the monitor bezel in at this stage too. The bottom panel is secured with screws going up from the bottom into 20x20mm framing timber either screwed or dowelled to the side panels (just make sure if you use screws that they're not too long.) You can't see it but the top back panel is also dowelled in at this stage, there's not much room between the top panel and speaker shelf so I cut the speaker holes installed the speakers and mounted the grilles for protection.
Subscribe to:
Comments (Atom)